Welcome to Cornike Theme
Thank you for purchasing Cornike Wordpress Theme. If you have any questions please feel free to email via our support email : [email protected] . Thanks so much...
Install
Video Installation Tutorial
Minimal requirements :
- PHP 5.4+
- MySQL 5.0+
- Wordpress 3.8+
- Please make sure you have proper version of wordpress installed.
Instal from dashboard
- Unzip the package downloaded from Themeforest and locate the file Cornike.zip
- In your Wordpress backend, go to Appearance -> Themes -> Add New (button on the top).
- Click the upload theme button that is near the top of the screen and go to the folder where you extracted the previous zip file, and select the file called "Cornike.zip"
- Click on "Install Now" and once completed select "Activate"
Uploading via FTP to Wordpress
- upload non-zipped theme folder called Cornike to /wp-content/themes/ folder in your WordPress installation folder on your server.
- In Available Themes section find Cornike and activate it by clicking Activate button
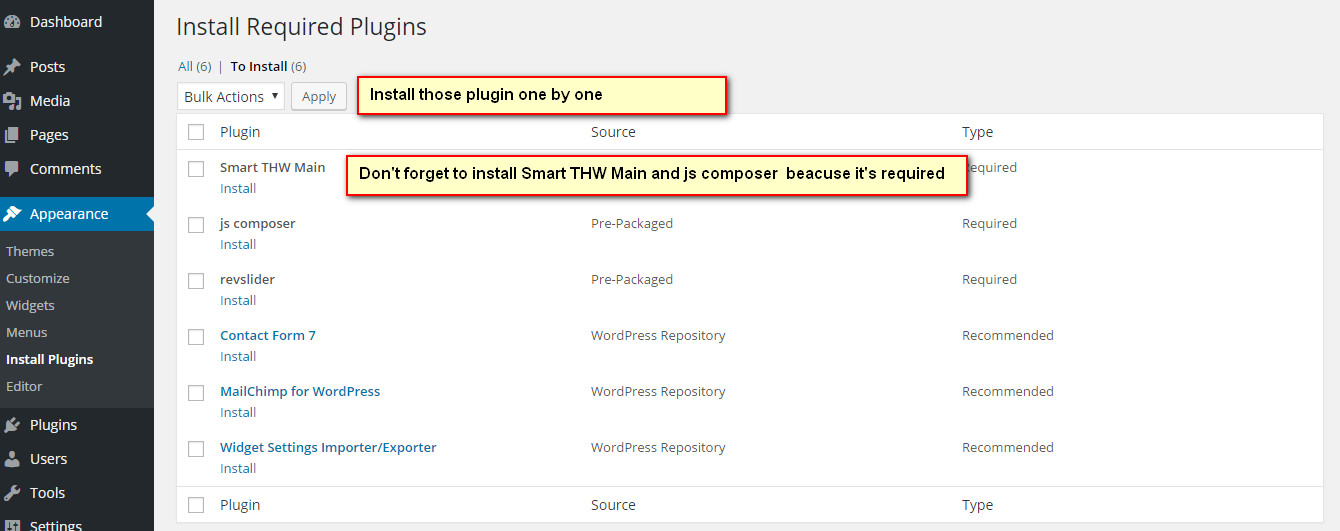
Install Plugin
If you want to looks like demo easyblog contact page then you need to install contact form7.

Press install plugin then you can see screenshot
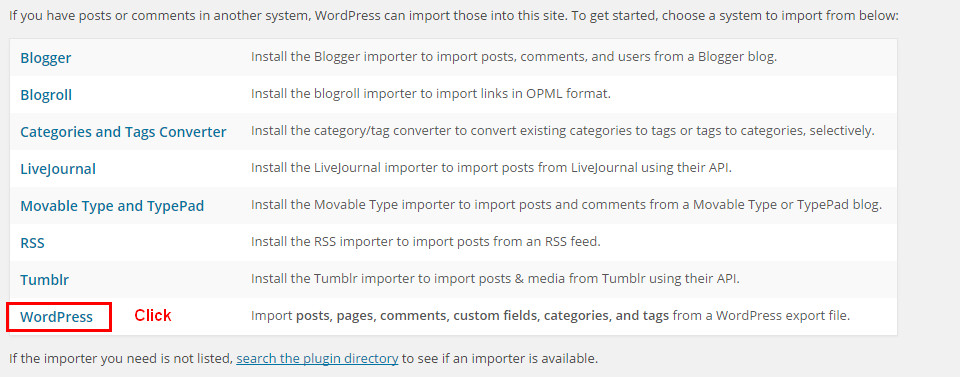
Importing The Demo Data - XML File
From the WordPress admin area go to Tools -> Import and click on the WordPress link :
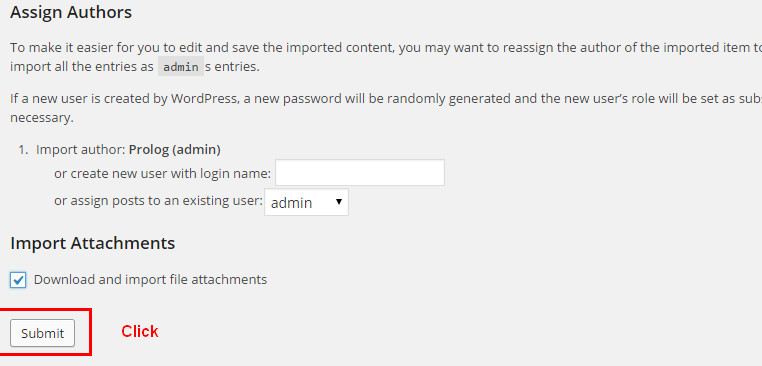
Here's how to install the demo content xml file , it's included with theme in xml folder
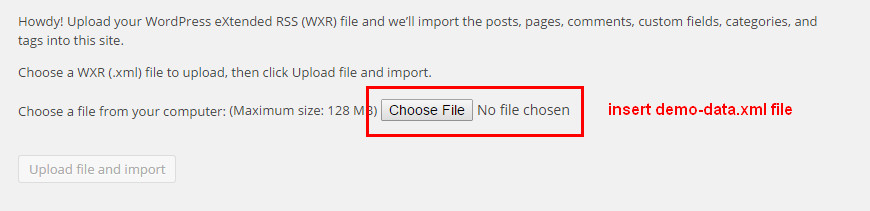
Click the Upload file and import button.
Menus
This theme came with single top menu
- Go to appearance > menus .
- Enter new menu name and click on create menu .
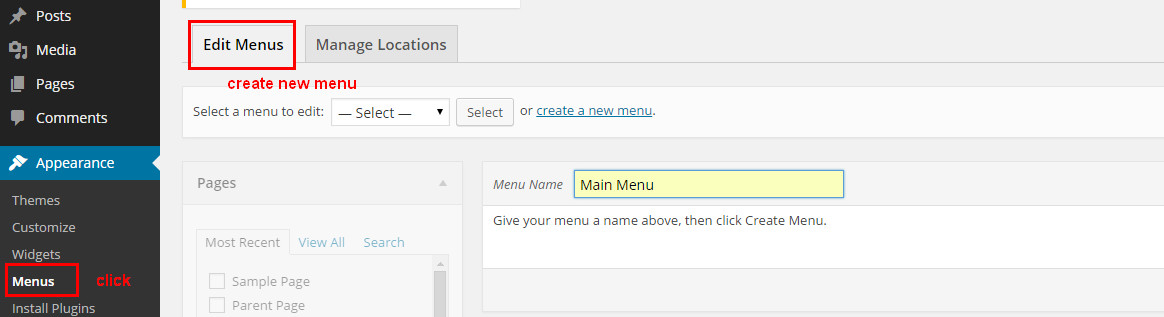
- Now you can select the menu you created , to use it in theme location .
Home and Page Templates
You can select 1 of 4 page templates included with this theme
- Homepage (default temlate)
- Blog with Full width (Blog with Full width)
- Blog with Left Sidebar (Blog with Left Sidebar)
- Blog with Right Sidebar (Blog with Right Sidebar)
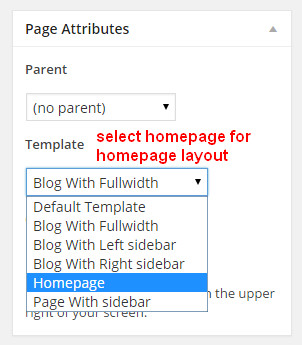
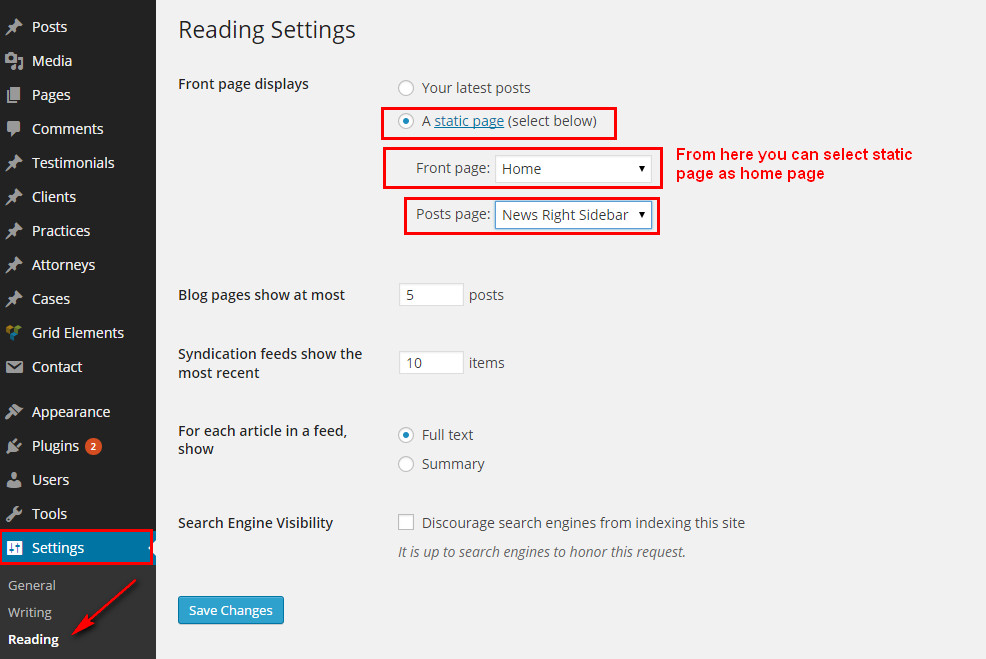
After Creating Homepage then go to the settings->reading from admin area
Cornike Options
You can access your theme options from admin menu > Cornike Options
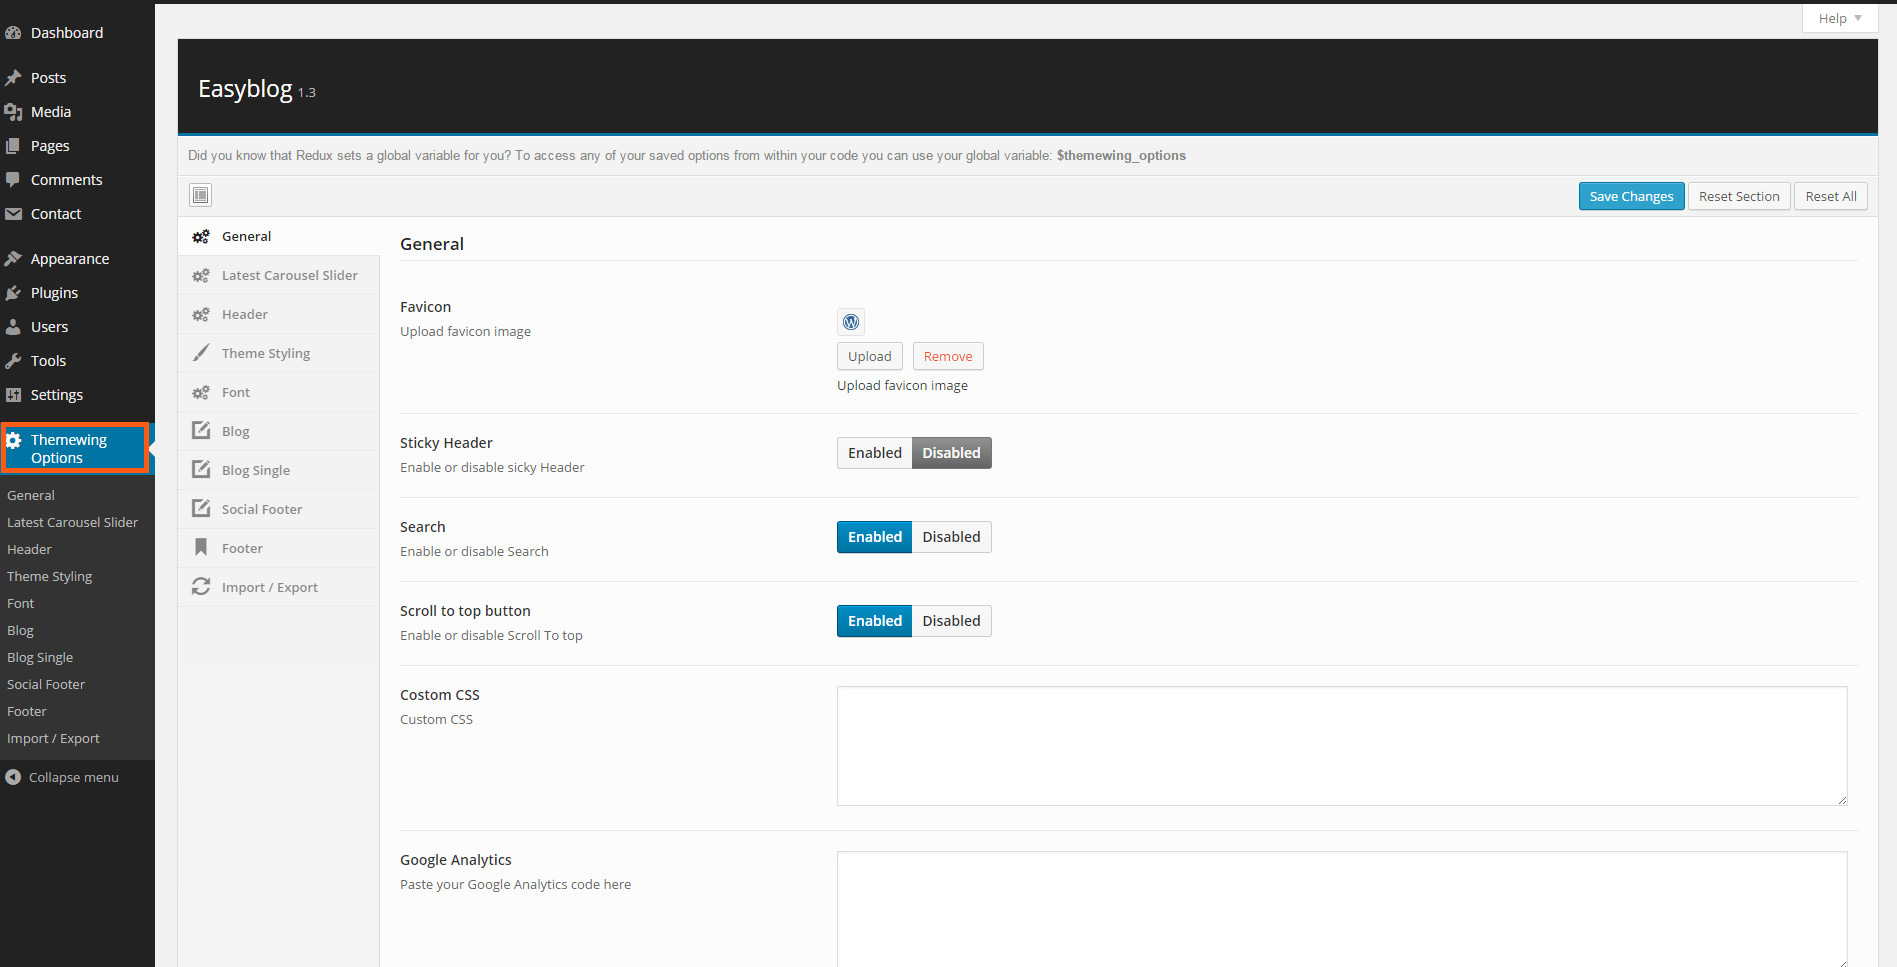
Available Cornike Options
- General & layout : Blog Layout / Favicon / Scroll to top button
- Offcanvas Menu : Offcanvas About Info / Offcanvas About Me Image / Offcanvas About Me Title / Offcanvas About Me Sub Title / Offcanvas Main Menu / Offcanvas Widget
- Header Settings : Header Layout / Sticky Header / Select Logo Type / logo type/ logo image / logo margin / logo align / header padding / Search / menu align / Header Share Button
- Theme Styling : select layout / box with body background / body content background / link color / hover color / header background color / menu background color / Set Bottom Background image/color / footer background color
- Latest Carousel : Carousel Post / Slider Layout / slider default / slider 2 / slider 3 / Slider Default Autoplay / Show Number of Post
- Featured Post : Show Number of Post / Navigation Enable or Disable / Autoplay Enable or Disable
- Font Setting : boby font / menu font / submenu font / h1 to h6 font
- Blog Setting : Sticky Sidebar / Post Comment / Blog Author / Blog Date / Blog Category / Post Edit / Custom Post Char Lenght / Post Char Limit Blog Readmore / Continue Reading / Blog Share / facebook to all share
- Blog Single : Blog Single Layout / Single Post Comment / blog tag / Post navigation / related post
- Social Footer : All footer share buttons ex. facebook, twitter
- Footer : Copyright / Copyright text
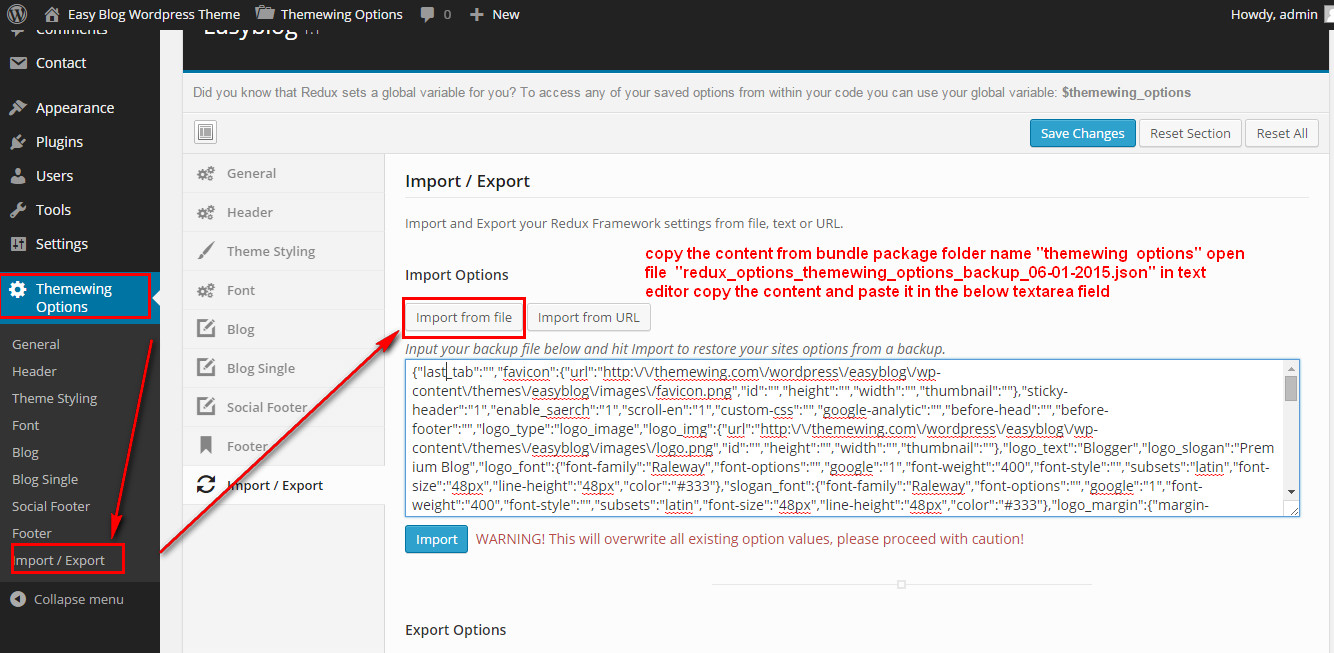
How to import theme options
From admin area go to the Cornike options -> import/export then you will find button name "Import from file". Just click the button and from bundle package you will find folder name "Cornike options" then open redux_options_Cornike_options_backup_06-01-2015.json in text editor and copy content and paste it in the text area. See the screenshot for more details
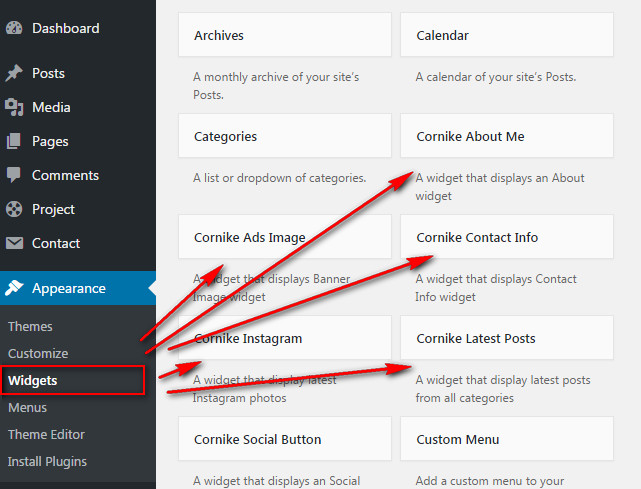
Widgets
this theme came with 5 widgets , Cornike About Me, Cornike Ads Image, Cornike Latest Posts, Cornike Contact Info, Cornike Instagram, Contact Socail Button
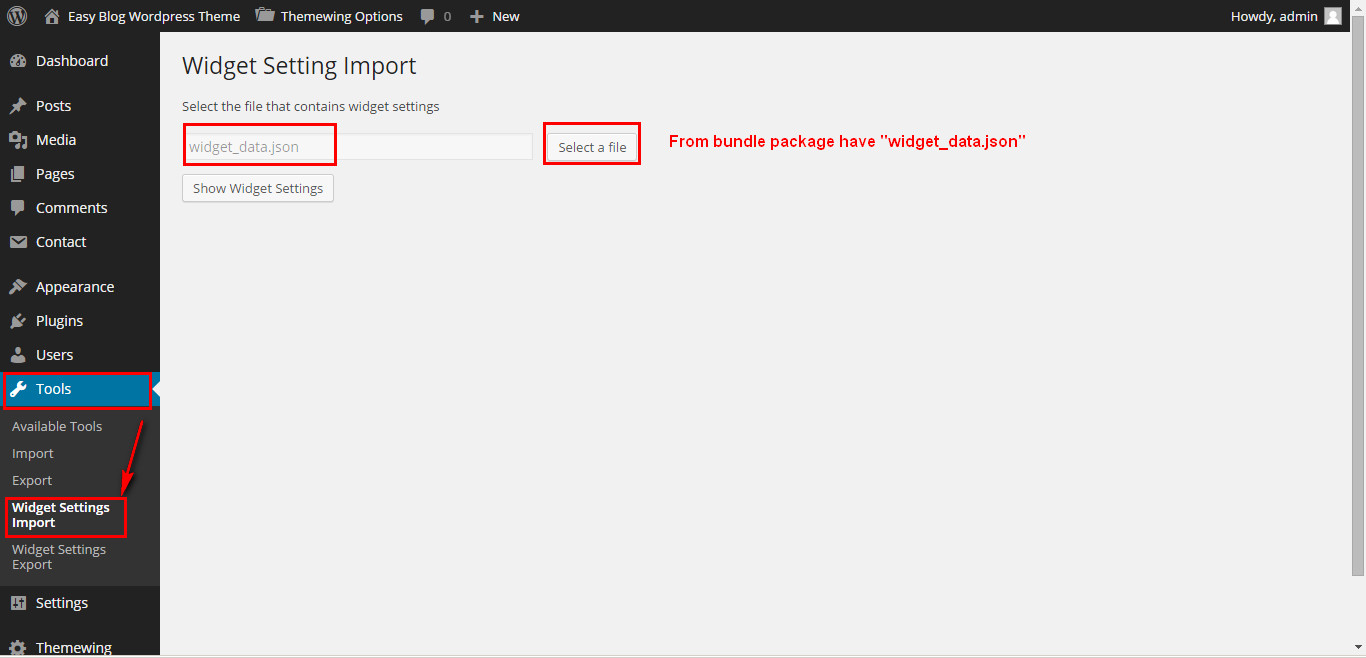
How to import Widget Data
We have attached plugin Widget Settings Importer/Exporter to import widget data. If you want to use widget data then just install this plugin. Then you will get the import settings from "tools->widget settings import" . You can see the Select a file button. Just Press the button and from bundle package select "widget_data.json"
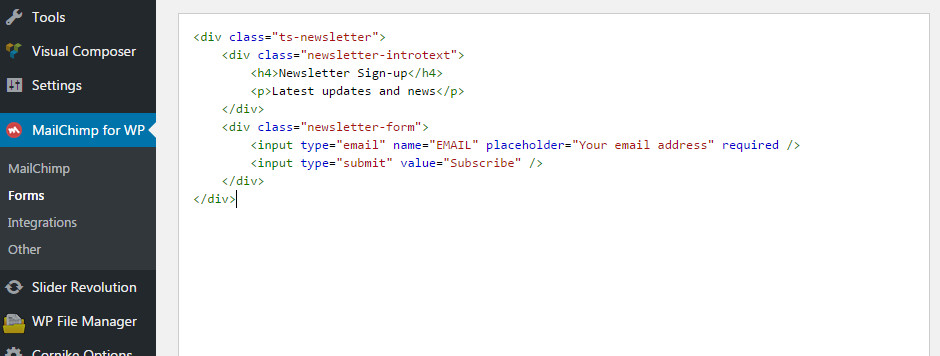
MailChimp
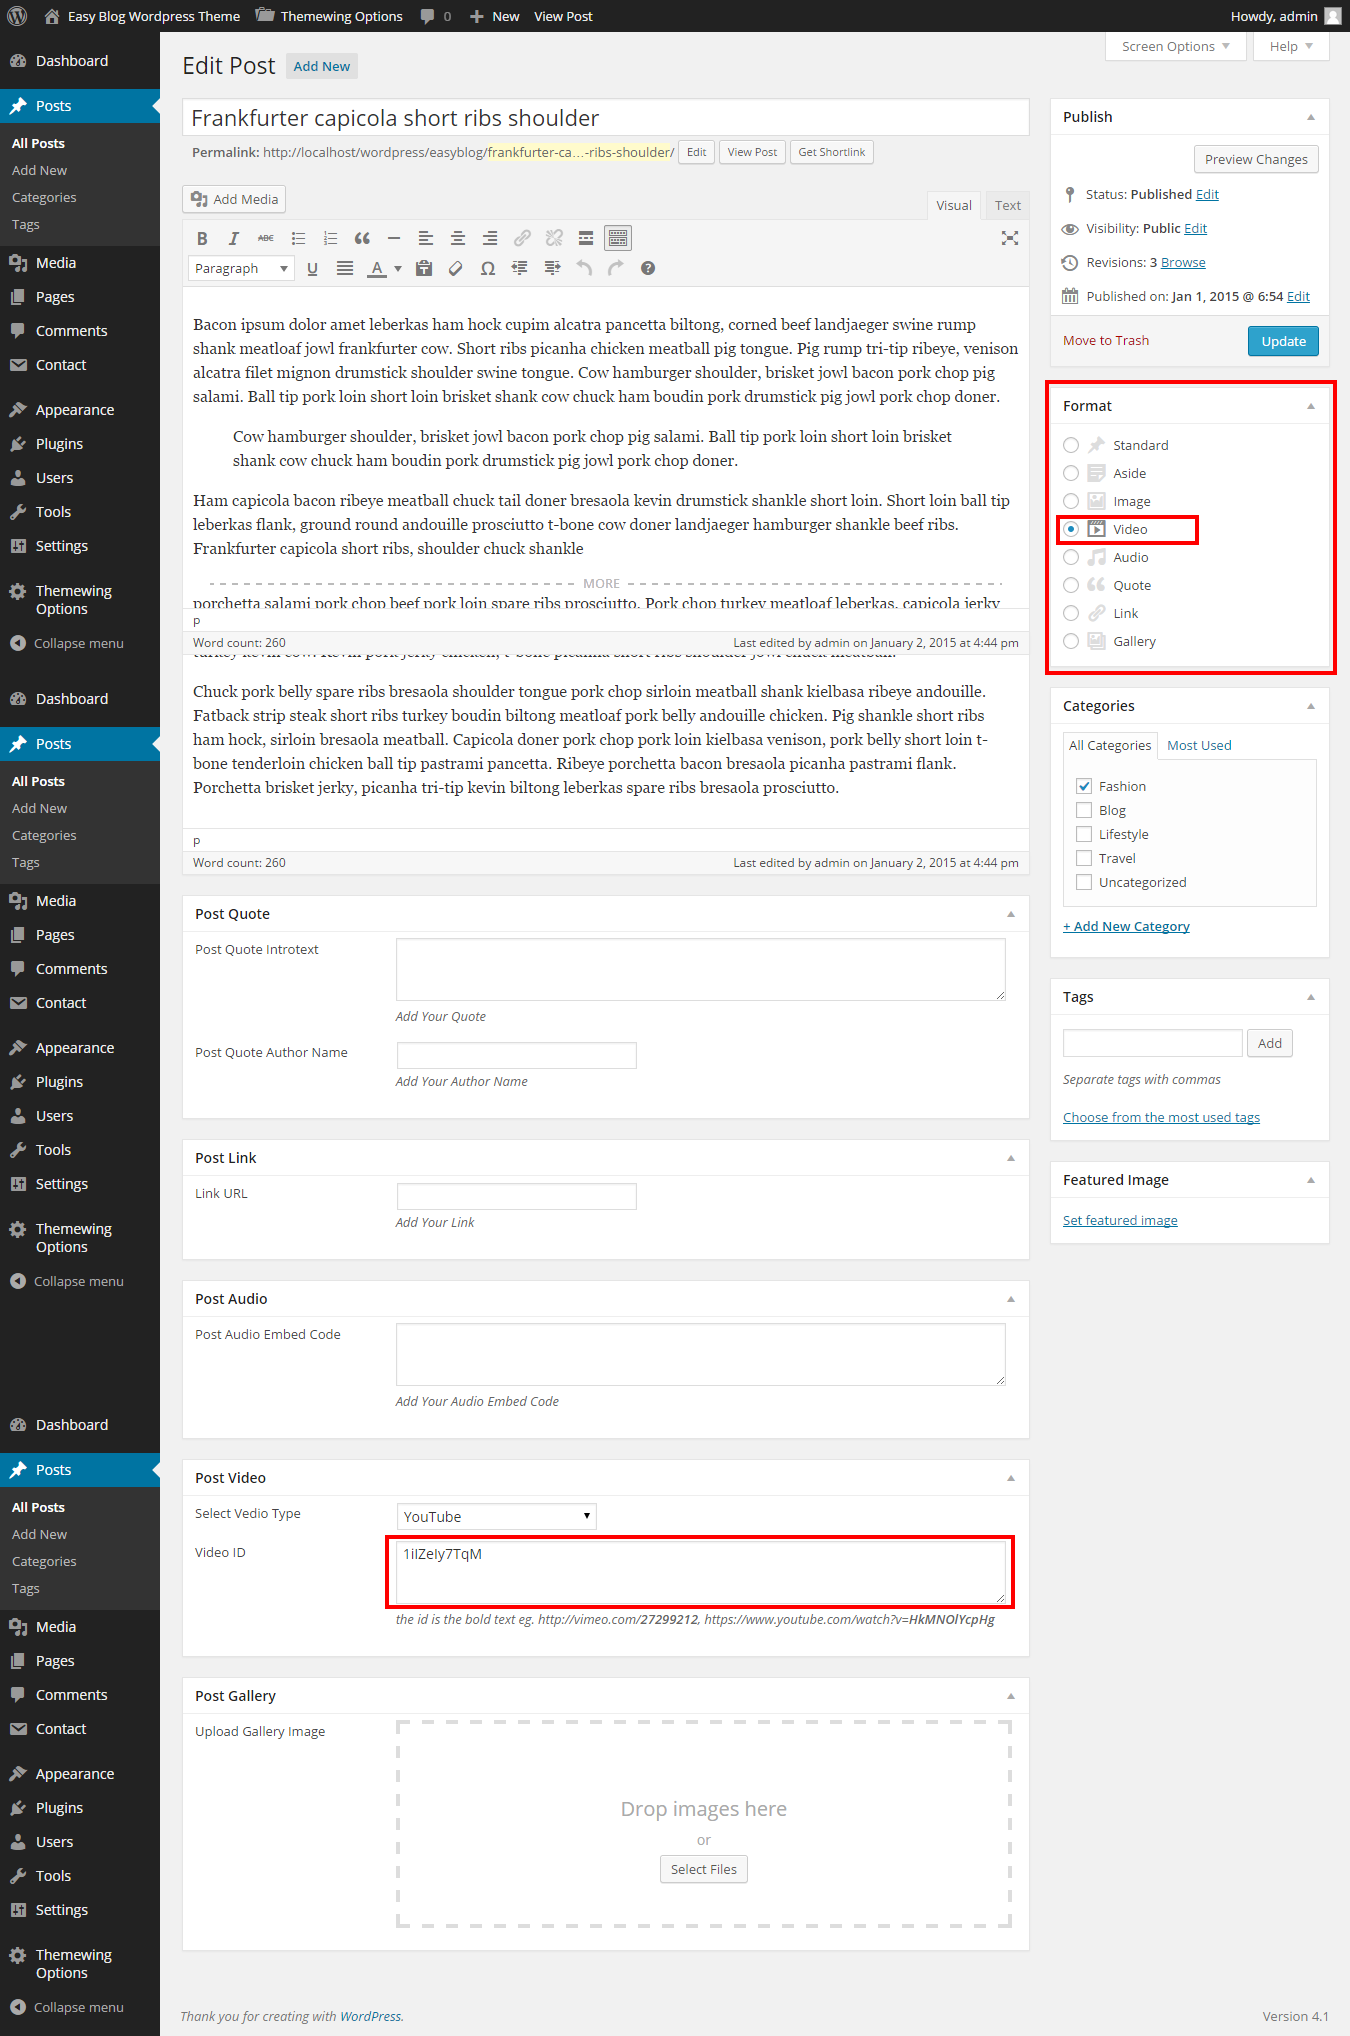
Post Options
this theme supports 8 post formats Standard , Gallery , Audio , Video , Quote , Link , Image , Aside
In order to use post formats correctly you should use post options fields :
Translation
.po and .mo files included , you can use any translation software like Po Edit , to translate the language files to any language you want .
- Open wp-config.php and replace this: define ('WPLANG', ''); with this (subsitute the language string (ar_EG) with your own!): define ('WPLANG', 'ar_EG');
- Download and install POEDIT
- Connect to your site -> open your theme/languages directory
- Download the default.po file and open it with POEDIT .
- Translate file and save it as ar_EG (the file name must match with the string you inserted into wp-config.php)
- Two files will be generated after save. ar_EG.po and ar_EG.mo
- Upload the .mo and .po files into wp-content/themes/your-theme/languages folder
How to use update Cornike theme
Important Note : You can't install update Cornike theme by admin dashboard. So, Please don't try to install update theme by admin dashboard
- Step 1 : First you download update Cornike_package_v from theme themeforest then unzip(unarchive) Cornike_package after that you will get Cornike folder.
- Step 2 : Copy the update Cornike folder then replace Cornike theme folder to /wp-content/themes/ folder in your WordPress installation folder on your server.
Uploading via FTP or Cpanel
Thank you for purchasing Cornike Wordpress Theme. If you have any questions please feel free to email via our support email : [email protected] . Thanks so much...